How to Get Correct Exposure :
Exposure is a complex thing, each small setting and the outer conditions may affect your final photograph. Here in this article we will see How to get Correct Exposure and different Camera Metering Modes Explained. There could be a possibility where your photographs are underexposed or overexposed with your finest settings, if that’s the case then maximum chances are that you have not selected best Camera metering mode for that particular scene. Here we will be Understanding How to get Correct Exposure in a Photograph.
How Camera Calculates Exposure :
Exposure loosely refers to the amount of light passes to sensor in your camera. The more light you let in, the brighter the resulting picture. Conversely, the less light you let in, the darker the picture.
How much light you let in, depends on your setting like shutter speed and aperture and ISO which is commonly referred as Exposure Triangle.
The exposure algorithm or program inside a camera measures amount of lights within scenery or particular object. For example suppose you are shooting a black deer with bright white snow everywhere from background to foreground. Here if you tell you camera to focus on black deer and keep your metering mode on auto then camera would think “yes, the subject is dark and accordingly it will evaluates the exposure of entire image, which results snow a little underexposed or on darker side”. So, here in this situation you have to tell your camera that please evaluate lights n brightness using overall scene not just on the basis of subject color.
How to get Correct Exposure :
To get the correct exposure, along with all those 3 parameters, you need to select correct metering mode so that camera can decide which which part is darker or lighter and accordingly it can set the correct exposure for entire image.
Metering mode is one of the settings most photographers don’t care much, most of times we keep in AUTO mode where camera chooses best metering modes for that scene, but in some cases you have to select other modes to get the perfect result.
What each Metering modes does and how it works is important in photography, because it helps photographers control their exposure to take best shot in unusual lighting situations.
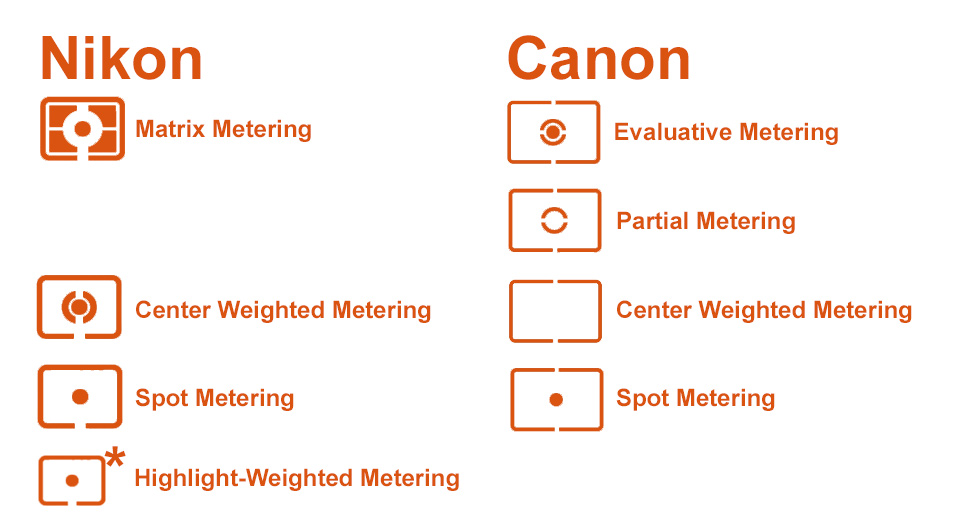
Types of Metering Mode in Canon and Nikon :
To get the correct exposure, below are the metering modes available in a camera, you can select any of them depending upon the lighting condition of shooting :
- Matrix/Evaluative Metering
- Partial Metering (Specific to Canon)
- Spot Metering
- Center weighted Metering
1. Matrix/Evaluative Metering:
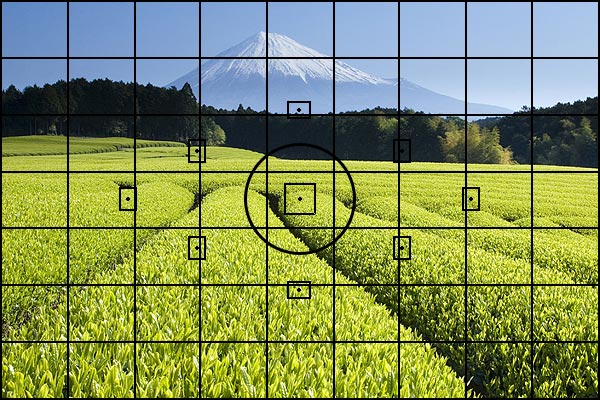
Matrix Metering mode is the default metering mode on most DSLRs. It works by dividing the entire frame into multiple “zones”, which are then all analyzed on individual basis for light and dark tones. One of the key factors (in addition to color, distance, subjects, highlights, etc) that affects matrix metering, is where the camera focus point is set to. One should use this mode for most of your photography, since it will generally do a pretty good job in determining the correct exposure. I leave my camera metering mode on matrix metering for most of my photography needs, including landscape and portrait photography.
2. Partial Metering (Specific to Canon):
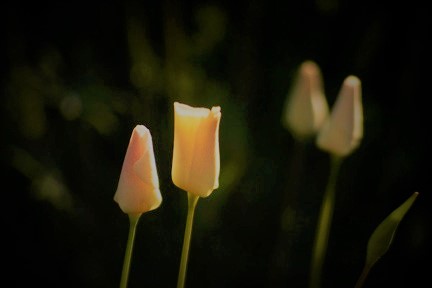
3. Spot Metering:
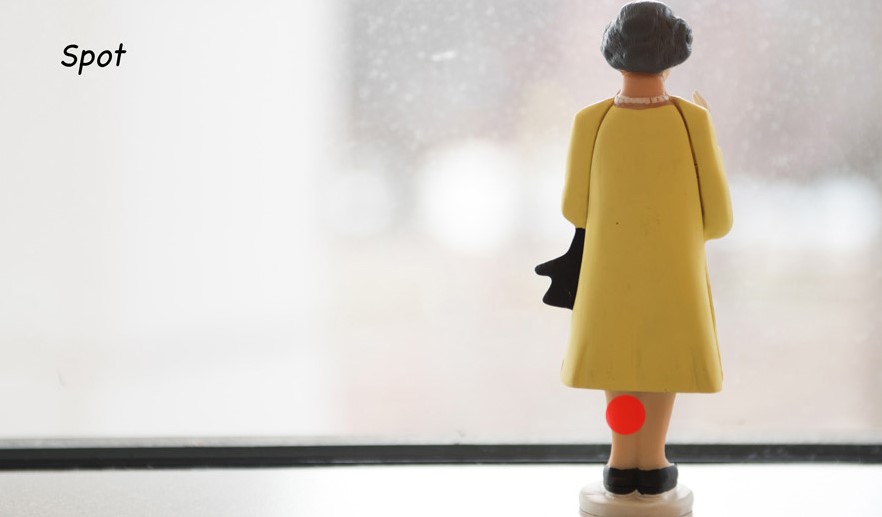
Spot Metering only evaluates the light around your focus point and ignores everything else. It should be used when your subject doesn’t take much of space like you need focus on something very small on your picture spot on. In this mode, Camera measures only 5%-7% of the complete frame. Situation like bird photography/moon shot, where bird is quite small as compared to the entire picture.
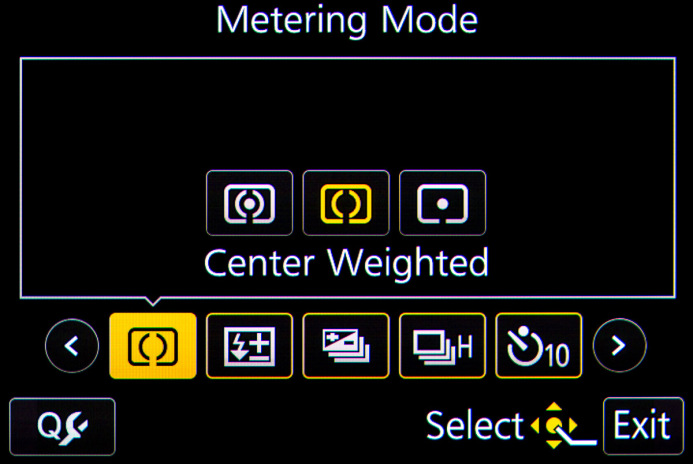
4. Center weighted Metering:
Conclusion:
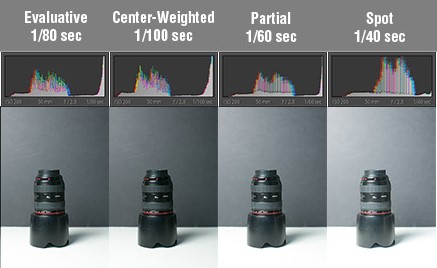
Here is a one shot where you can see the exposure difference with different metering modes.
Choose Matrix/Evaluative metering when lights are evenly spread all over the frame or scene you are capturing.
If scene has come high contrast object like snow then in such case use Center weighted Metering.
Spot metering you can use where light is coming from back of the subject.
Hope i have made thing clear on How to get Correct Exposure – Camera Metering Modes Explained. Let me know your thoughts and feedback.
Share this article if you like 🙂