Basic Parts of DSLR Camera and Their Functions with Pictures
Whether you have a Digital SLRs or point and shoot , these camera parts will inevitably be found on most cameras. After getting hold of any camera, you need to know the name of the different parts before you start using it. A proper understanding of the names and functions is the primary step towards improving your photography skills. Here we will be listing Basic Parts of DSLR Camera and Their Functions before you buy :
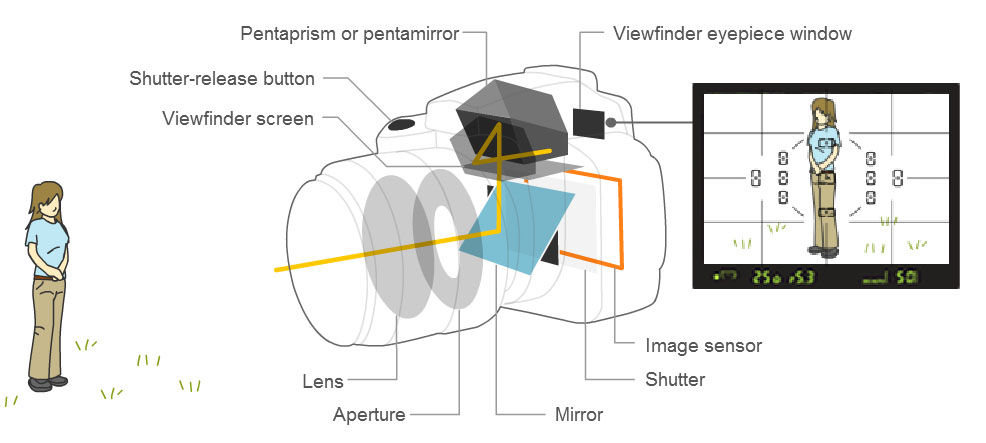
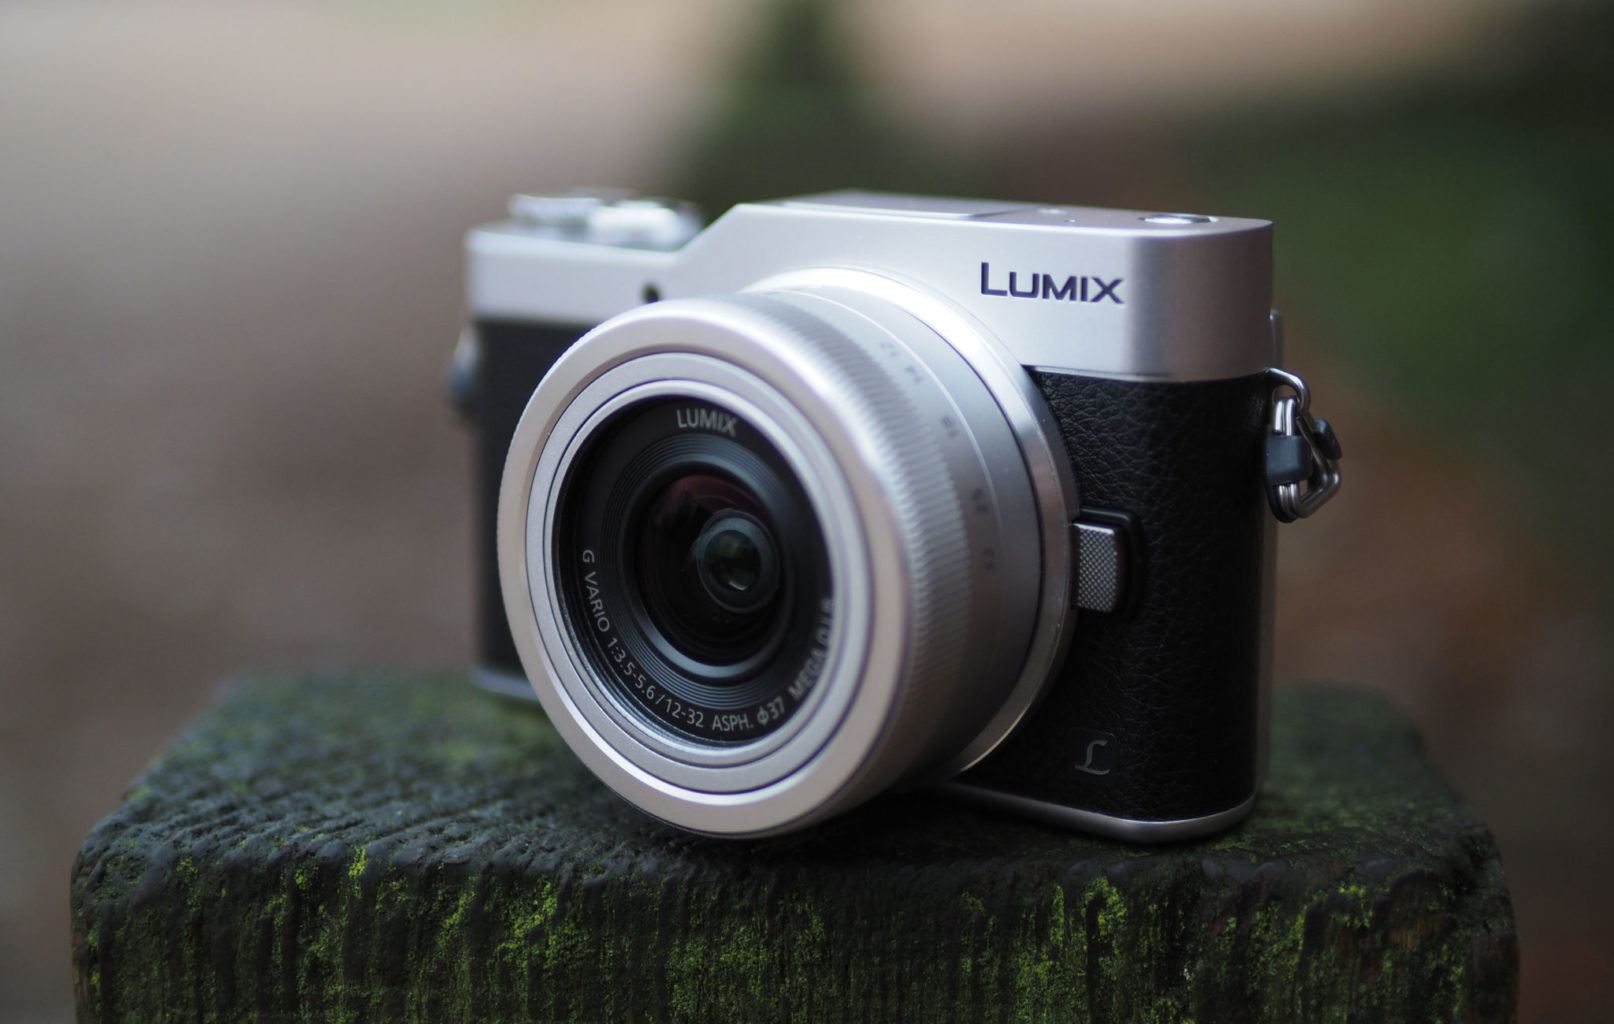
1. Lens
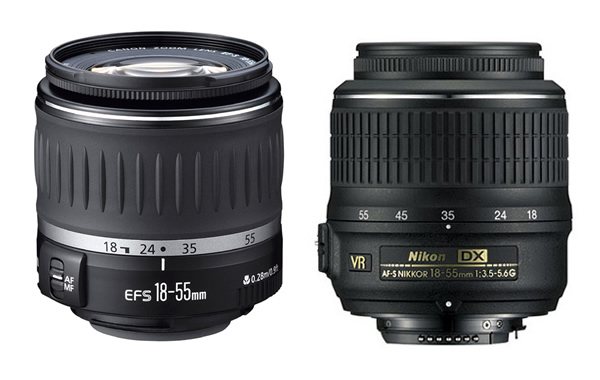
The lens is one of the most vital parts of a camera. The light enters through the lens, and this is where the photo process begins. Lenses can be either fixed permanently to the body or interchangeable. They can also vary in focal length, aperture, and other details.
2. Viewfinder
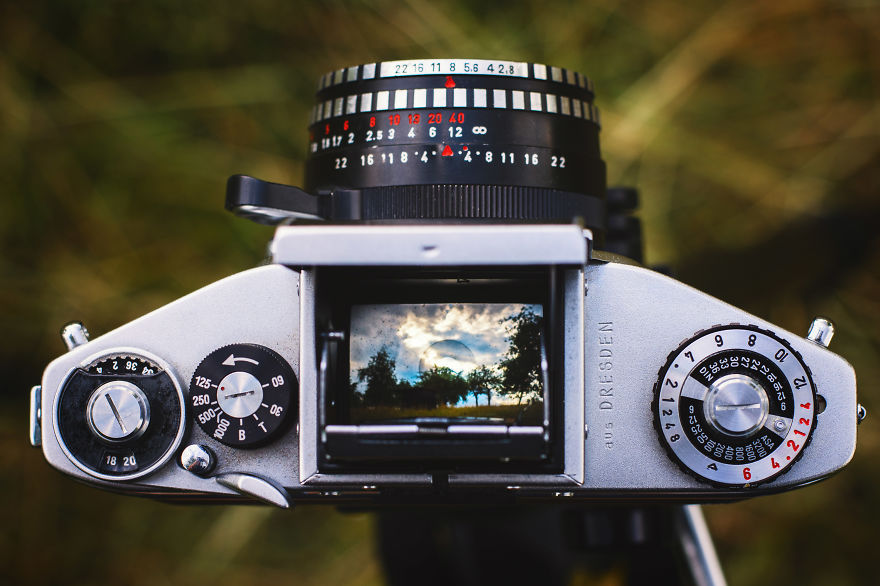
The viewfinder is the area on the camera that you look through in order to compose your shot. For some cameras, an LCD screen is used as a viewfinder, or your camera may have the option to use either one. Once your photo is taken, it may not look exactly like what you see through the viewfinder. Factors such as lighting, lens, camera settings and your camera’s capabilities will affect the finished result. Because of this, the viewfinder is not intended as a preview of your photo, but rather a tool to aid you in taking it. You, as the photographer, determine the final result.
3. Mode Dial
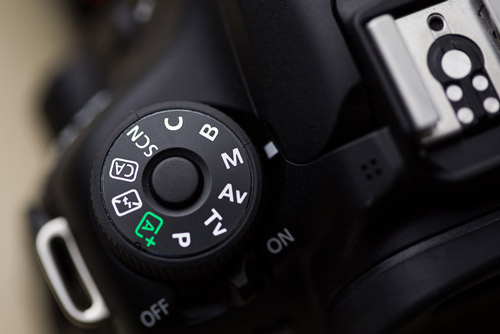
Most cameras today have a variety of functions and automatic features. The mode dial allows you to select different options, such as automatic mode, program mode, sport mode or macro mode. Older cameras may not have a mode dial, because all of the settings are manual. There are also some compact cameras that use a touch-screen for selecting options instead of a dial.
4. Body
The body is the main portion of the camera, and bodies can be a number of different shapes and sizes. DSLRs tend to be larger bodied and a bit heavier, while there are other consumer cameras that are a conveniently smaller size and even able to fit into a pocket.
Choosing the best camera for amateur photographer can be difficult, so try to test several camera bodies and read professional reviews before buying an expensive camera for about $1500. A matrix size and ISO settings are the main things that show the quality of the camera body
5. Shutter Release
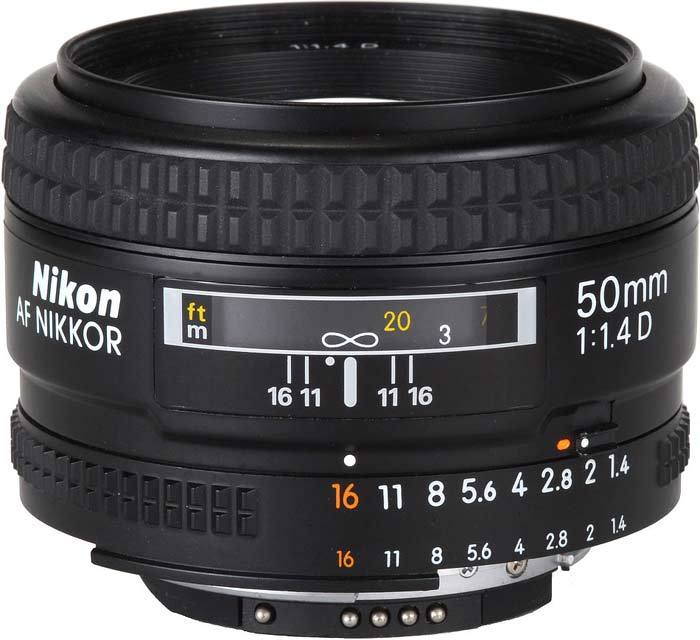
6. Aperture
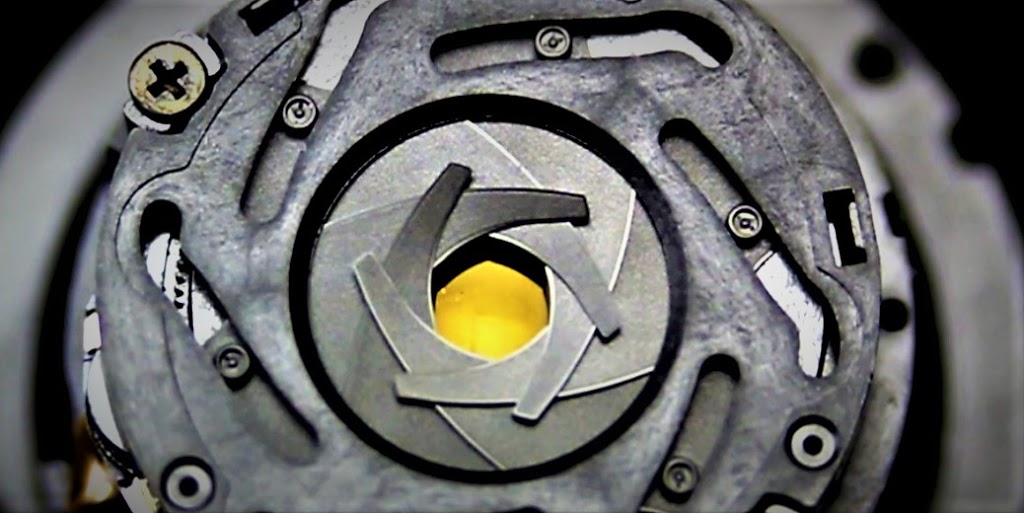
The aperture affects the image’s exposure by changing the diameter of the lens opening, which controls the amount of light reaching the image sensor. Some digital compacts will have a fixed aperture lens, but most of today’s compact cameras have at least a small aperture range. This range will be expressed in f/stops. For DSLRs, the lens will vary on f/stop limits, but it is usually easily defined by reading the side of the lens. There will be a set of numbers stating the f/stop or f/stop range, ex: f/2.8 or f/3.5-5.6. This will be your lowest settings available with that lens.
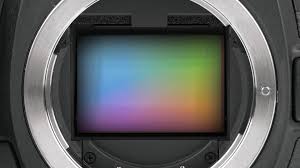
7. Image Sensor
8. LCD Screen
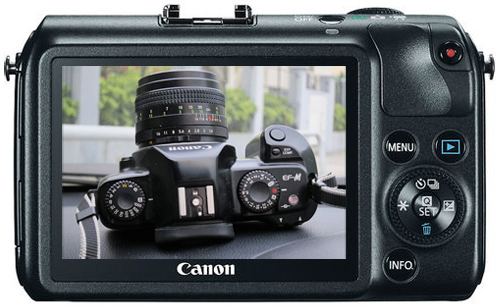
The LCD screen is found on the back of the body and can vary in size. On digital compact cameras, the LCD has typically begun to replace the viewfinder completely. On DSLRs, the LCD is mainly for viewing photos after shooting, but some cameras do have a “live mode” as well.
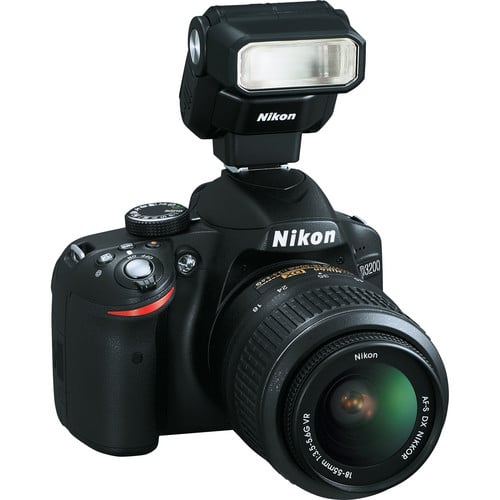
9. Flash
10. Focus Ring
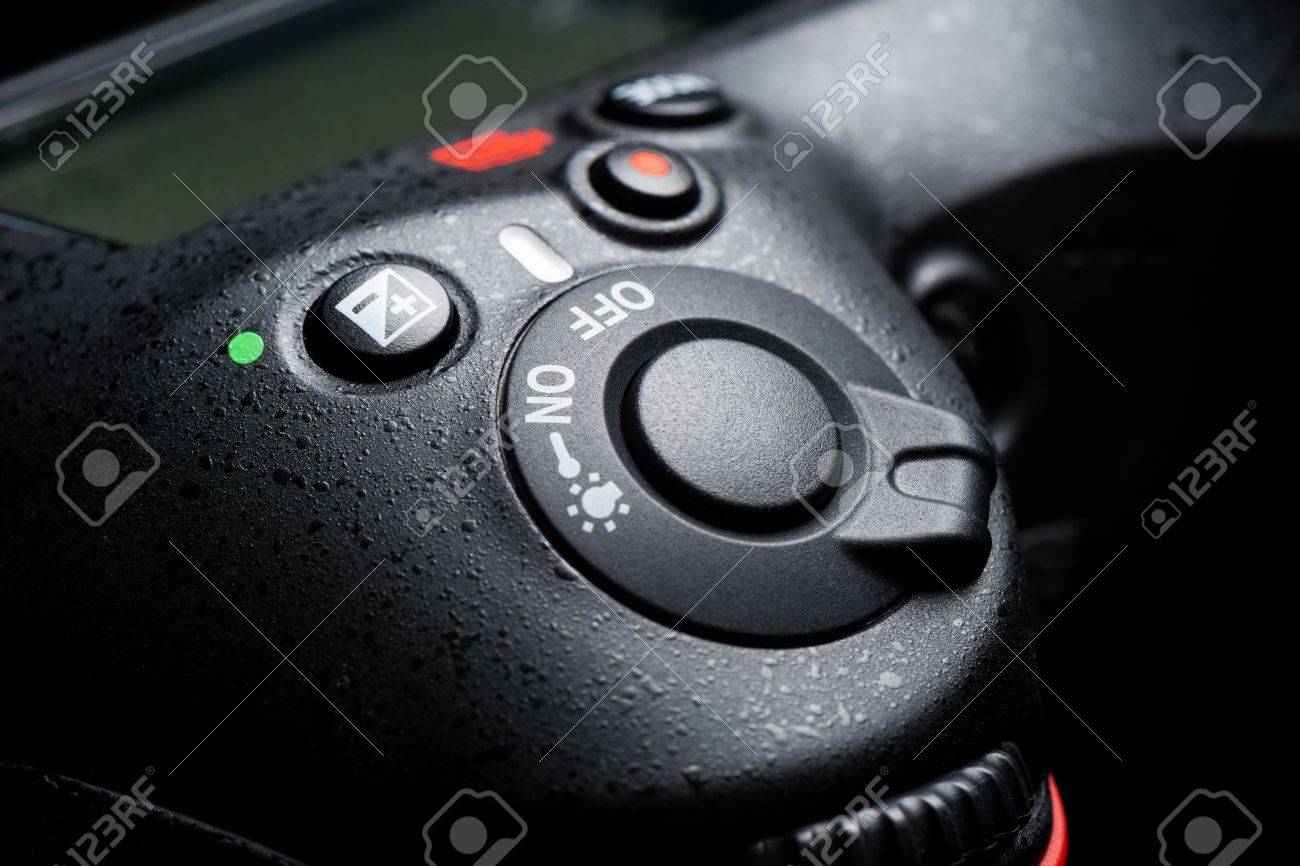
11. Video start-stop button
Don’t press the red button! Unless you want to shoot video, that is. This button may show up in a different position on your camera, but it is likely still decorated with a red dot. Some cameras forgo a separate record button and instead use the regular shutter button, along with a movie mode on the mode dial, for shooting videos.
12. Exposure compensation button
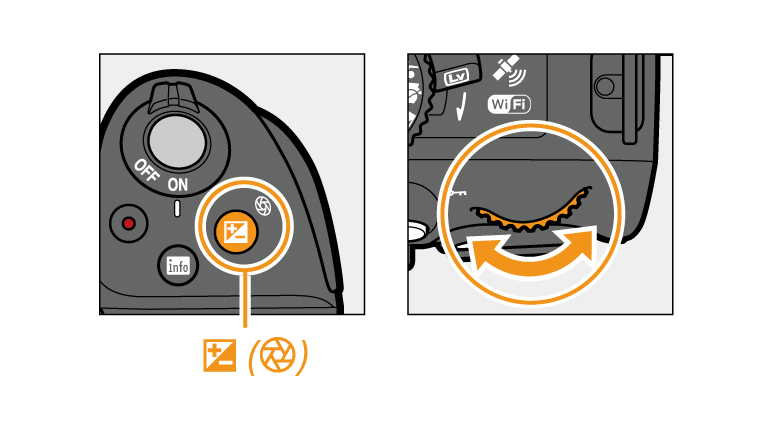
If you want to control aperture, you need to hold down this button. If not in manual mode, this button allows you to adjust exposure compensation — that is, make the image brighter or darker while still letting the camera make its own decisions about which settings to use to achieve that. To know more about Exposure Compensation in details click here.
13. Mode dial
14. Flash button
15. Lens retract button
Retractable lenses are becoming increasingly popular as they are more compact than non-retractable models. You must press this button to initially “zoom” the lens into its operational position, and again to retract it when you’re done shooting.
16. Lens release button
Press this button to unlock the lens mount and detach the lens by rotating it. You don’t need to press it when mounting a lens.
These about pointed out difficulties may possibly be corrected in the course of well timed updating or configuring of the basic safety softwares.
Nice post. I understand some thing harder on diverse blogs everyday. Most commonly it is stimulating to study content using their company writers and rehearse something from their store. I’d would rather use some with the content on my weblog whether you do not mind. Natually I’ll supply you with a link on your web blog. Thanks for sharing.
Hello Rajeev Ranjan, I have read your basic parts of DSLR camera and their functions article. Very nice and good explain here about DSLR camera and function. I am happy to read after this article. It’s very useful for beginner photographer. BTW, I’m a professional productbackground removal service provider for photographers and eCommerce seller.
This is very great blog.
This camera is really made with good APERTURE.
Thank You.