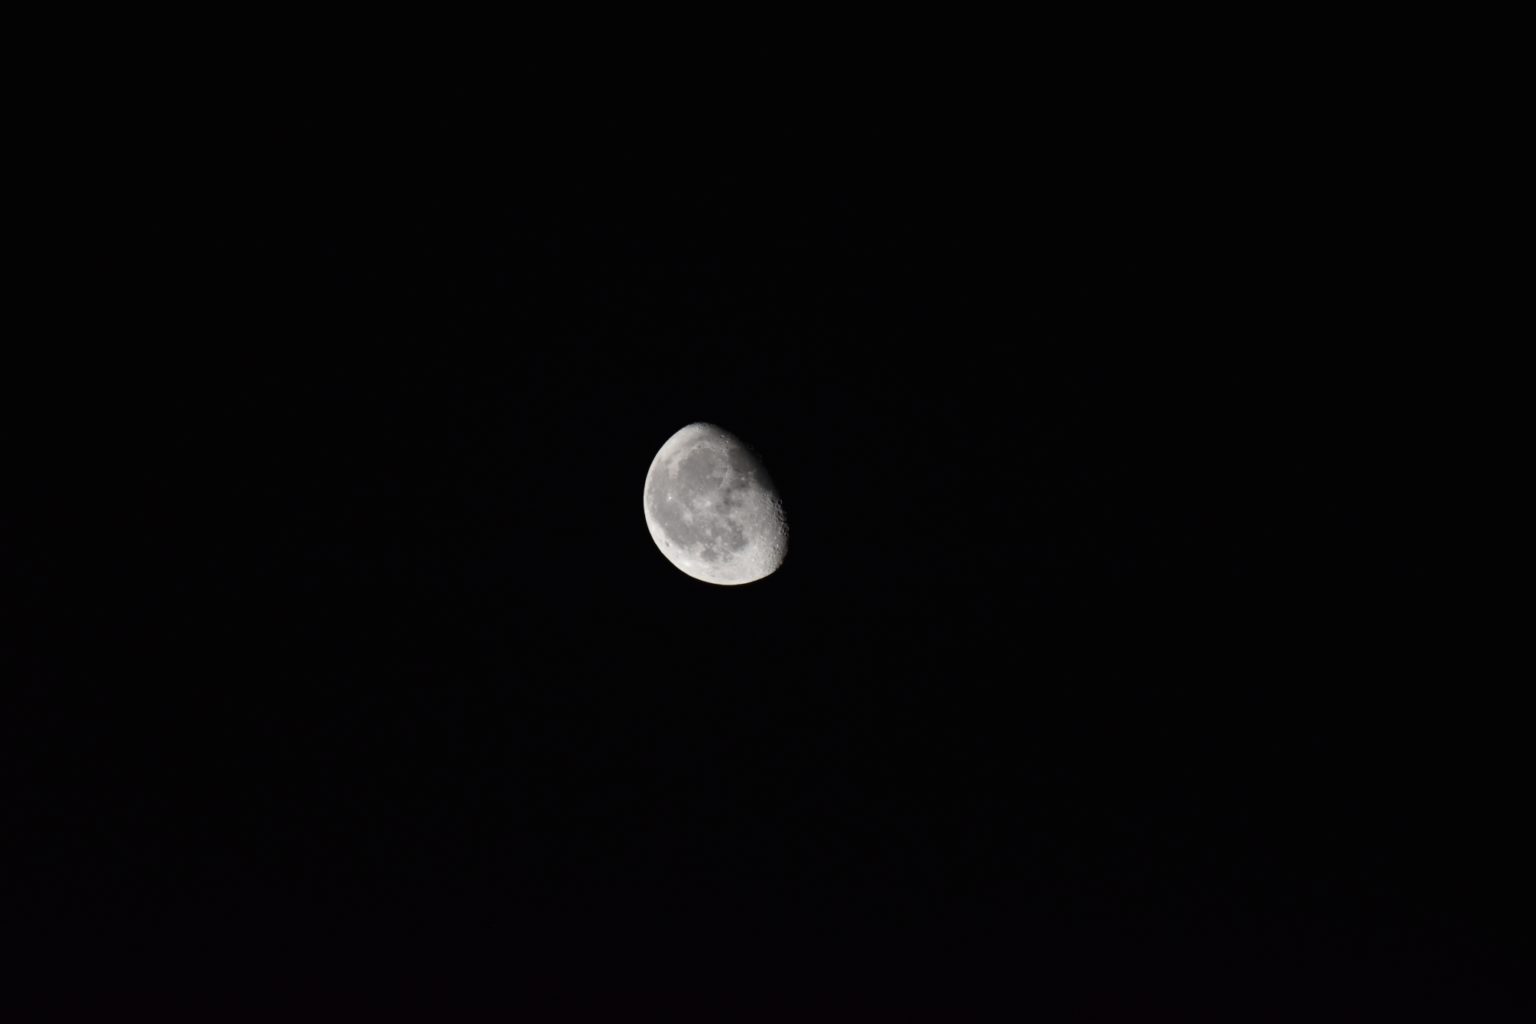
How to Photograph Moon with Tamron 70-300 Di VC USD
It’s been more than 6 years since Tamron launched its affordable telephoto lens Tamron 70-300mm f/4-5.6 Di VC USD. Since then it’s the only lens which is competing with Nikkor AF-S VR Zoom-Nikkor 70 – 300 mm f/4.5-5.6G IF-ED. There are some good reason to go for Tamron version and thats why many beginners are more inclined for tamron 70-300 rather than Nikkor’s. so lets find out why and how to How to Photograph Moon with Tamron 70-300 Di VC USD
The Tamron 70-300mm f/4-5.6 Di VC USD Lens features a popular and useful focal length range, a nice design, USD (Ultrasonic Silent Drive) AF and VC (Vibration Compensation) for a very affordable price. This is typically a first choice for most of beginners who interested in nature photography or bird photography. 300mm is not huge range but on a crop sensor DX model it converts to almost 450mm which can be considered good for these types of photography.
It’s good that the lens has a built-in image stabilization, which is called VC, because under low light conditions you’ll love having it at the longest focal lengths to prevent motion blur. The VC (vibration compensation) of Tamron works amazingly well, even i could say better than Nikkor VR.
Reasons to prefer Tamron over Nikkor :
- The very first and strong reason is it’s cost. It’s way cheaper than Nikkor 70 300 and with that saving you can easily buy Nikkor 35mm 1.8g for street and portraits Photography.
- It’s offers excellent image quality even @300mm. When you compare it’s image from Nikkor lens, you will hardly notice any differences. Tamron has not compromised it’s build quality too, if it’s not the best in it’s class then definitely it’s not bad too.
- Third reason I feel is its VC. It works like magic, you can feel when VC is on even at 300mm it grabs picture the moment you press your shutter. Sometimes I feels its VC works even better than Nikkor VR versions. One can go shutter speed as slow as 1/40 or 1/50 with handheld @300mm with the help of it’s VC.
Steps on how to Photograph Moon with Tamron 70-300 :
Below are the settings I generally use with Tamron lens :
Camera Mode: Set your camera mode to A (Aperture Mode) Mode. You might be surprise why A when most people recommends M mode. M mode is not at all compulsory if your lens has good VC or VR and you have sturdy hands.
ISO: Set your ISO to 200 and gradually increase by one stop if required. And make sure “Auto ISO” is turned Off. And yes at this shutter speed you don’t need a tripod to photograph moon. A tripod compulsion and manual focusing etc. are some of big myths while shooting moon .
Aperture: Set your aperture to maximum @ 5.6 which tamron lens allows. A maximum aperture will help you to increase you shutter speed.
Shutter Speed: Set your shutter speed to 1/200 or gradually increase this if moon appears too bright. If moon looks like a white bulb with no details, try increasing your shutter speed and lower ISO.
Lens Focus: Use manual focus ( Auto focus also works fine most of the time in modern cameras) and VC should be compulsorily ON. Choose single focus point from number of focus and keep this focus point in center of your frame.
Metering Mode: Select spot metering mode as we gave only one point to focus on which is moon.
Note :
Until you have humongous 600mm lens, you might not need to crop the image as it can fill entire frame. But with normal 200mm or 300mm lens, you might have to crop the image to see the details. Do no afraid to crop it to appear moon bigger and sharper. Below is the example :
Original Version @300mm :

Cropped Version :
You could see the difference here, how huge difference it makes if you crop the image properly. Do not over crop so that image deteriorates. Below are few other moon shots :
If you have tripod, you can also try bracketing, there could be a scenario when all parts of moon is not properly exposed or overly exposed. In this case you can use bracketing, take multiple shots of moon and merge them into HDR. It should have better details compared to single shot.
You can visit my Instagram gallery to checkout more pictures of MOON.
Post-processing :
No matter how good your image comes out of the camera, I still recommend doing some post-processing to enhance the look of your moon image. Increase the sharpness and contrast if required and also play with brightness and curves in lightroom. There is no standard post processing rule, so you can try different setting while doing post processing.
Hope this article made things clearer for you on how to shoot moon. You don’t need fancy stuffs like tripod or remote shutter. Just a good enough camera with 200+ telephoto lens. Do try photograph moon today only from your balcony or roof and let me know if these setting works.
Share this article if you find this useful.
Keep clicking | PixelRajeev