Whats is Zoom Burst Photography and Mastering The Zoom Effect in Camera
We often experiment different types of effect we get from camera and lenses. Here in this post we will try to learn Zoom Burst Photography and How to get Mastering The Zoom Effect in Camera.
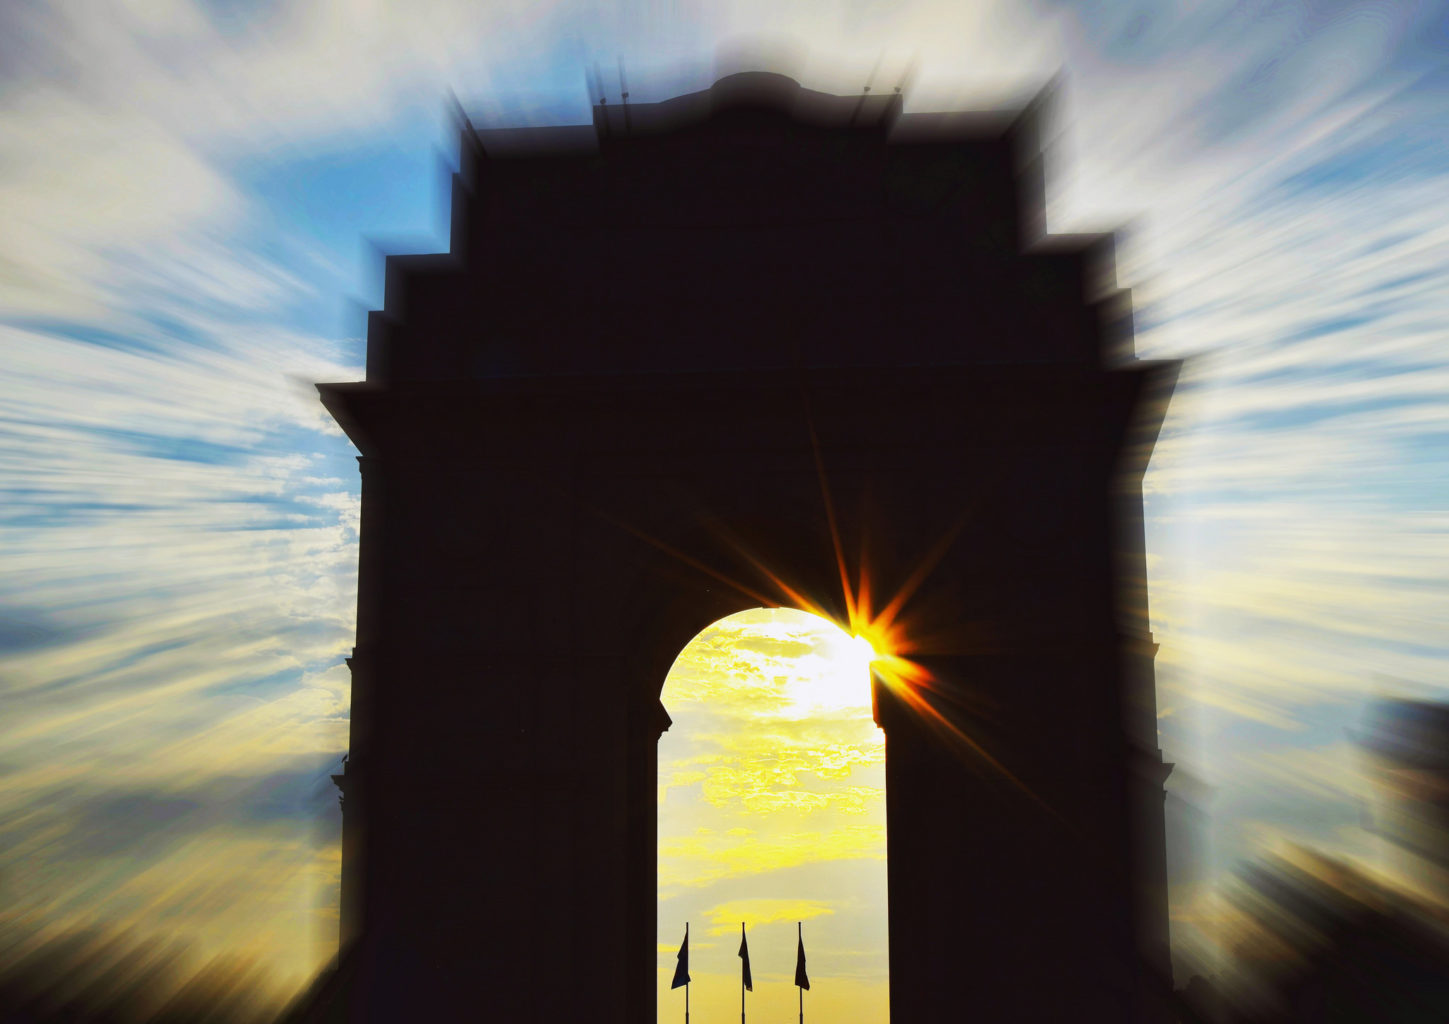
This is one of those effect in photography where subject seems going away or coming towards you with motion lines. It gives a different perspective to the entire image and often have better impact on viewer if subject is relevant. What you need to do to get this effect is set your shutter speed for a longer exposure and then while taking the shot (between when the shutter opens and closes) you will need to use your zoom lens to either zoom in or zoom out from your subject. This is little bit tricky but surely not much.
There are several ways to get this effect. Some are done while shooting itself when you have enough time to compose and shoot specially when it requires a tripod. The other way is PS technique which is super easy and can be done after shot. But here, we will only talk about the first technique where we will achieve this effect in-camera. For PS technique you can refer this link from my blog, Every steps is explained with PS screen shot.
http://www.pixelrajeev.com/2min-tutorial/mastering-zoom-burst-photography-zoom-burst-effect-in-photoshop/
9 Steps for Mastering The Zoom Effect in Camera
1. Setup Your Camera on Tripod –
As we will be using a slow shutter speed any movement of camera or even a minor camera shake will have significant impact on shot. We want to capture a zooming movement in these shots so any side to size or up and down shake will impact the smoothness of the zooming lines in our image.To eliminate camera shake use a tripod or set your camera on a still surface.
2. Lower Light Situations Might Help –
As we are using a longer shutter speed so ultimately camera would be exposed to light for longer duration which results over exposed image. As a result it can be easier to get well exposed zoom effect shots in low light situations.
3. Move the Camera Manually
If you don’t have a zoom lens then the other way to get this effect is to manually move your camera towards or away from your subject smoothly and slowly. Of course this introduces other camera shake when camera is setup on tripod and it has to move on surface. You need to be patient with all this tricks.
4. Choosing a Shutter Speed –
There is no particular shutter speed that will work for all situations. Factors to consider will include the levels of light, the speed at which you’ll zoom etc. I generally would shoot at up to a second (or even a little longer) which is usually enough to zoom a lens from one end to another. You need to experiment with different shutter speeds to see what works best for you in that scenario.
5. Work on Smooth Zooming –
to get nice smooth motion lines in your photo you’ll need to work at a ‘smooth zoom’. ie you don’t want to zoom at one speed early on and then speed up and then slow down. This will make your lines a little jerky. Getting a nice smooth zoom technique takes practice.
6. Pause Mid-Zoom –
Another technique to experiment is to pause your zooming either at the start, end or during the procedure (while the shutter is still open). This will mean that what your camera sees at the point when you pause your zoom will be stronger and hopefully clearer in your shot.
7. Fire Your Flash –
Another element that you can add to this technique is light. You can do this with virtually any light but the most common one is obviously the flash. Fire it during your long exposure and you’ll freeze part of the image while still getting movement behind and around it. Some cameras will allow you to do this using ‘night mode’.
8. Reverse the Zoom –
Zooming in on a subject can give a different result than zooming out, especially if your subject is moving and depending upon whether you pause at the beginning and or end of the zoom. Experiment with both.
9. Partial Zoom –
some zoom lenses have very wide focal lengths. I have a friend with a 28-200 zoom and he finds that using the zoom effect can be too much if he starts at one end and goes right to the other. For starters he can’t maintain a smooth zoom over that focal length but also it’s just too much motion for one image. Instead it can be more effective to only zoom part of your focal length range. If you have a 28-200 mm try zooming from 28-100 mm or even smaller ranges.
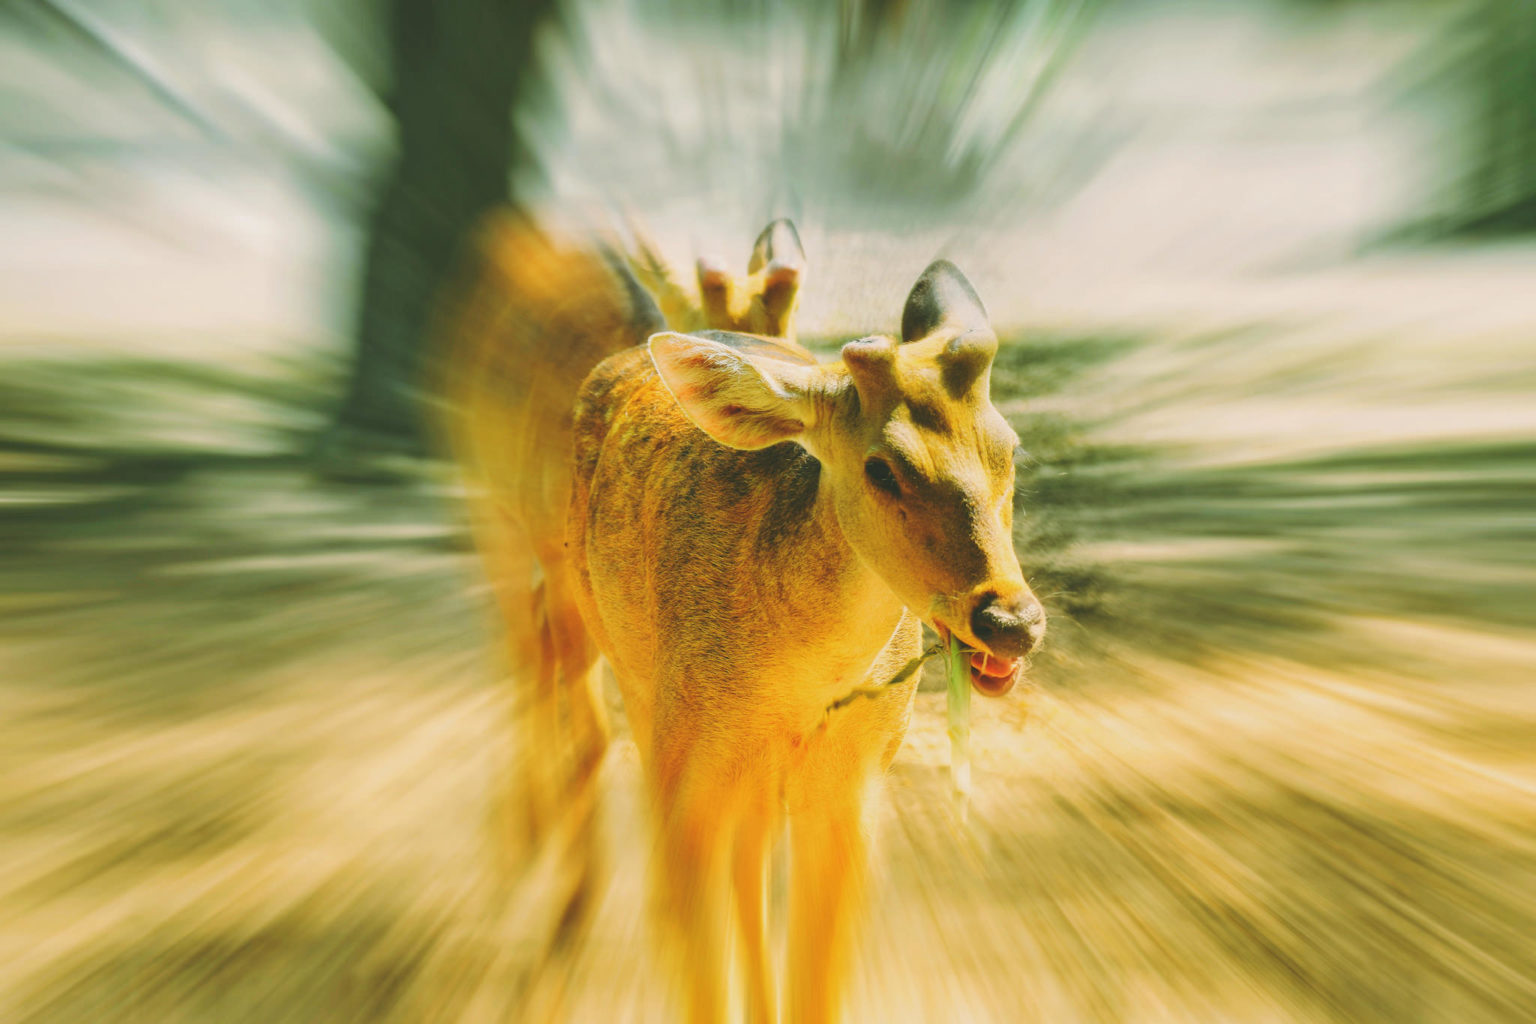
These all are just techniques to get the Zoom Burst Effect in Camera. In real world taking a picture with smooth Zoom Burst effect seeks lot of practice and time. Also you need to be bit lucky with Zoom Burst Photography because of Lighting Situations, subject and obviously manual work with moving lens.
Try experimenting this effect, its fun too.
Did you enjoy this article? Please share it! 🙂